
Start Seeds Indoors: 15 Tips for Successful Gardening

Starting seeds indoors is an exciting first step toward a successful growing season. Growing plants from seed offers you a world of opportunities when it comes to varieties — even the best local nurseries selling heirloom varieties are only scratching the surface of what’s available.
With the right approach, starting plants from seed doesn’t have to be complicated. Whether you're new to gardening or optimizing your process, these 15 tips will help you set your seedlings up for success.
1. Order seeds from a reliable source.
The quality of your seeds can make or break your gardening efforts. Purchase from a reputable seed company or trusted seed swap to ensure good germination rates, healthy plants, and accurate varieties. Starting your garden off with a solid foundation is worth the investment.
2. Get your timing right.
Timing is everything. Starting seeds too early can lead to leggy plants, overcrowding, or insufficient light and space for your growing seedlings. You can use online planning tools and calculators to determine the best start time for your seeds. If you have a mini greenhouse or cold frame, you can start a few weeks earlier since your seedlings will be protected — just be prepared to do some potting up if necessary.
3. Determine if you need extra heat.
A heat mat isn’t always necessary if you’re starting seeds indoors, but it can speed up germination, especially in cooler spaces like basements or garages. If you're unsure, this Vegetable Quick Fact Sheet includes optimal germination temperatures to help you decide.

4. Use sturdy seed-starting supplies.
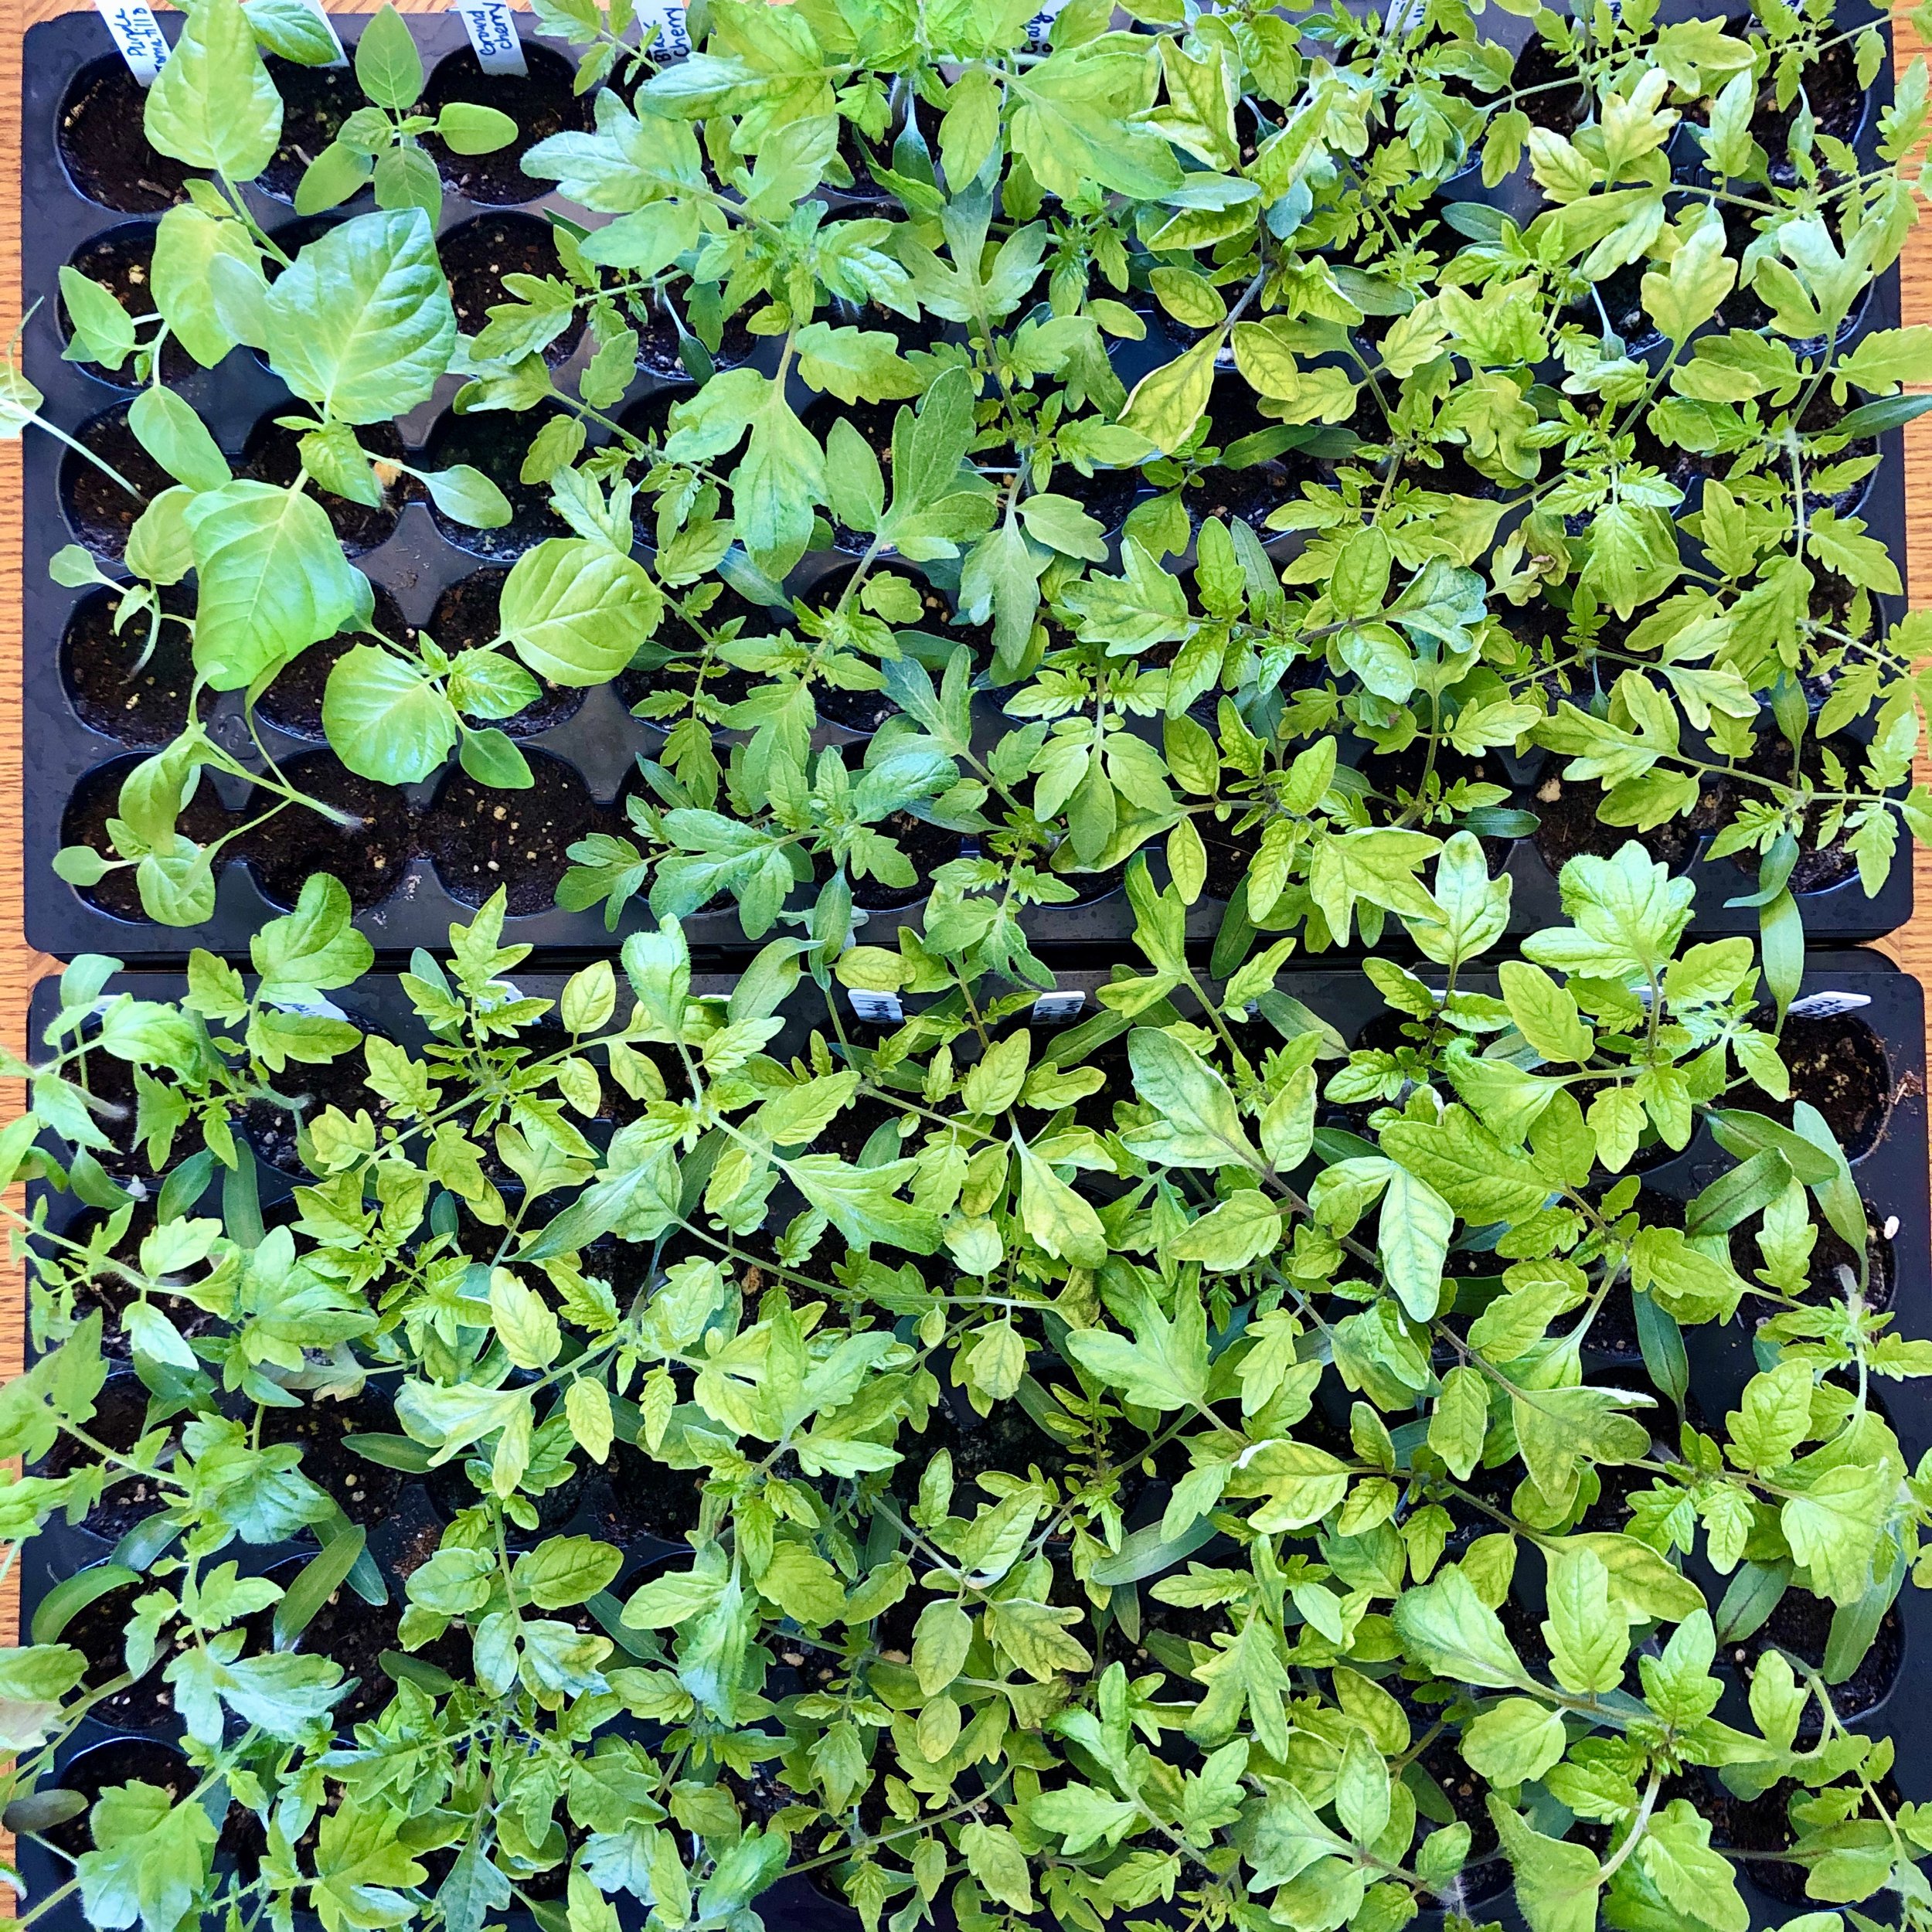
Between watering, rotating, and eventually hardening off, be prepared to move your seed trays around often. Make your life a lot easier by using high-quality, sturdy trays that won’t bend or break when carried.
I prefer to use 50-cell seedling inserts that fit into 1020 trays with holes. You can also get trays without holes or this nice set that includes either two or ten of each of the inserts, trays, and humidity domes.
It is also important to use clean trays and pots that do not have any old dirt residue that could potentially cause problems that you do not want.
5. Use a high-quality seed starting mix.
It’s important to use a good quality seed starting mix when growing from seed. I typically use Espoma Organic Seed Starter Premium Potting Mix, but you can also make your own.
To make your own own seed starting mix use 2 parts peat moss and 1 part fine vermiculite. For a peat-free option, use 2 parts coco coir and 1 part fine vermiculite.
6. Moisten soil before planting.
Seed starting mix is often very dry, so it’s best to pre-moisten it before sowing seeds. You can do this in a large bowl or bucket to ensure even moisture. Alternatively, you can moisten the mix directly in the trays, but take care to distribute the water evenly and avoid washing away the soil.


7. Label accordingly, and take notes.
Good records are invaluable. You don’t want to find yourself searching through your phone’s camera roll to find an important date!
Keep track of seed starting, transplanting, and harvest dates in a notebook or my free garden planner and journal. Be sure to use waterproof labels so your notes don’t fade with watering.
8. Plant seeds at the right depth.
Seed packets usually include depth recommendations, but a general rule is to plant seeds at a depth twice their size. Avoid planting too deeply, as this can hinder germination.
9. Maintain humidity, but be careful to avoid overwatering.
Low humidity indoors can make seed starting challenging. Use humidity domes to keep moisture levels consistent. Water gently with a spray bottle until seedlings develop strong roots, then switch to bottom watering to keep foliage dry and prevent disease. Indoor greenhouses are also an excellent option for maintaining humidity.
10. Pay attention to germination times.
Different seeds germinate at different rates. For example, tomatoes and peppers usually sprout within a week, while herbs like thyme can take 14-28 days. Check your seed packets for specifics, and don’t give up too soon!

11. Provide adequate light.
Healthy seedlings need plenty of light. Supplement natural light with indoor grow lights to prevent leggy growth. I use affordable LED grow lights from Amazon — one per tray works great. You can also adjust the lights to different heights as the seedlings grow.
12. Rotate seed trays or pots.
Light angles can cause uneven growth, so rotate your trays every few days to keep seedlings growing straight. Also, monitor moisture levels, as areas with more light may dry out faster.
13. Use a fan to increase airflow.
Good airflow prevents pests and diseases and helps strengthen seedlings. Run a small fan for a few hours each day to improve air circulation and mimic outdoor conditions.
14. Remember to feed your seedlings.
Seed starting mixes often lack nutrients, so fertilize seedlings after they emerge (but be care to not overferilize). Start with a diluted liquid fertilizer at half strength, then gradually increase as they grow. Slow-release organic fertilizers, like Sustain 4-6-4, are also great options.
15. Always prepare seedlings for transplanting.
Last but certainly not least, be sure to acclimate your seedlings to the outdoors before sending them on their way. This process is called “hardening off”, and it usually takes at least a week (more than likely two) to accomplish.
For the first couple of days, don’t put your plants in direct sunlight. Place them in a shady area where they are sheltered but still exposed to wind for an hour or two. On the third day, start bringing them out into the sun for maybe an hour (but keep an eye on them). Gradually increase the amount of time they are in the sun very slowly.
Eventually, they will be strong enough to withstand the sun all day, but you may still need to bring them indoors at night depending on the crop and outdoor temperatures. Don’t rush this process! You don’t want all of your hard work to go to waste.
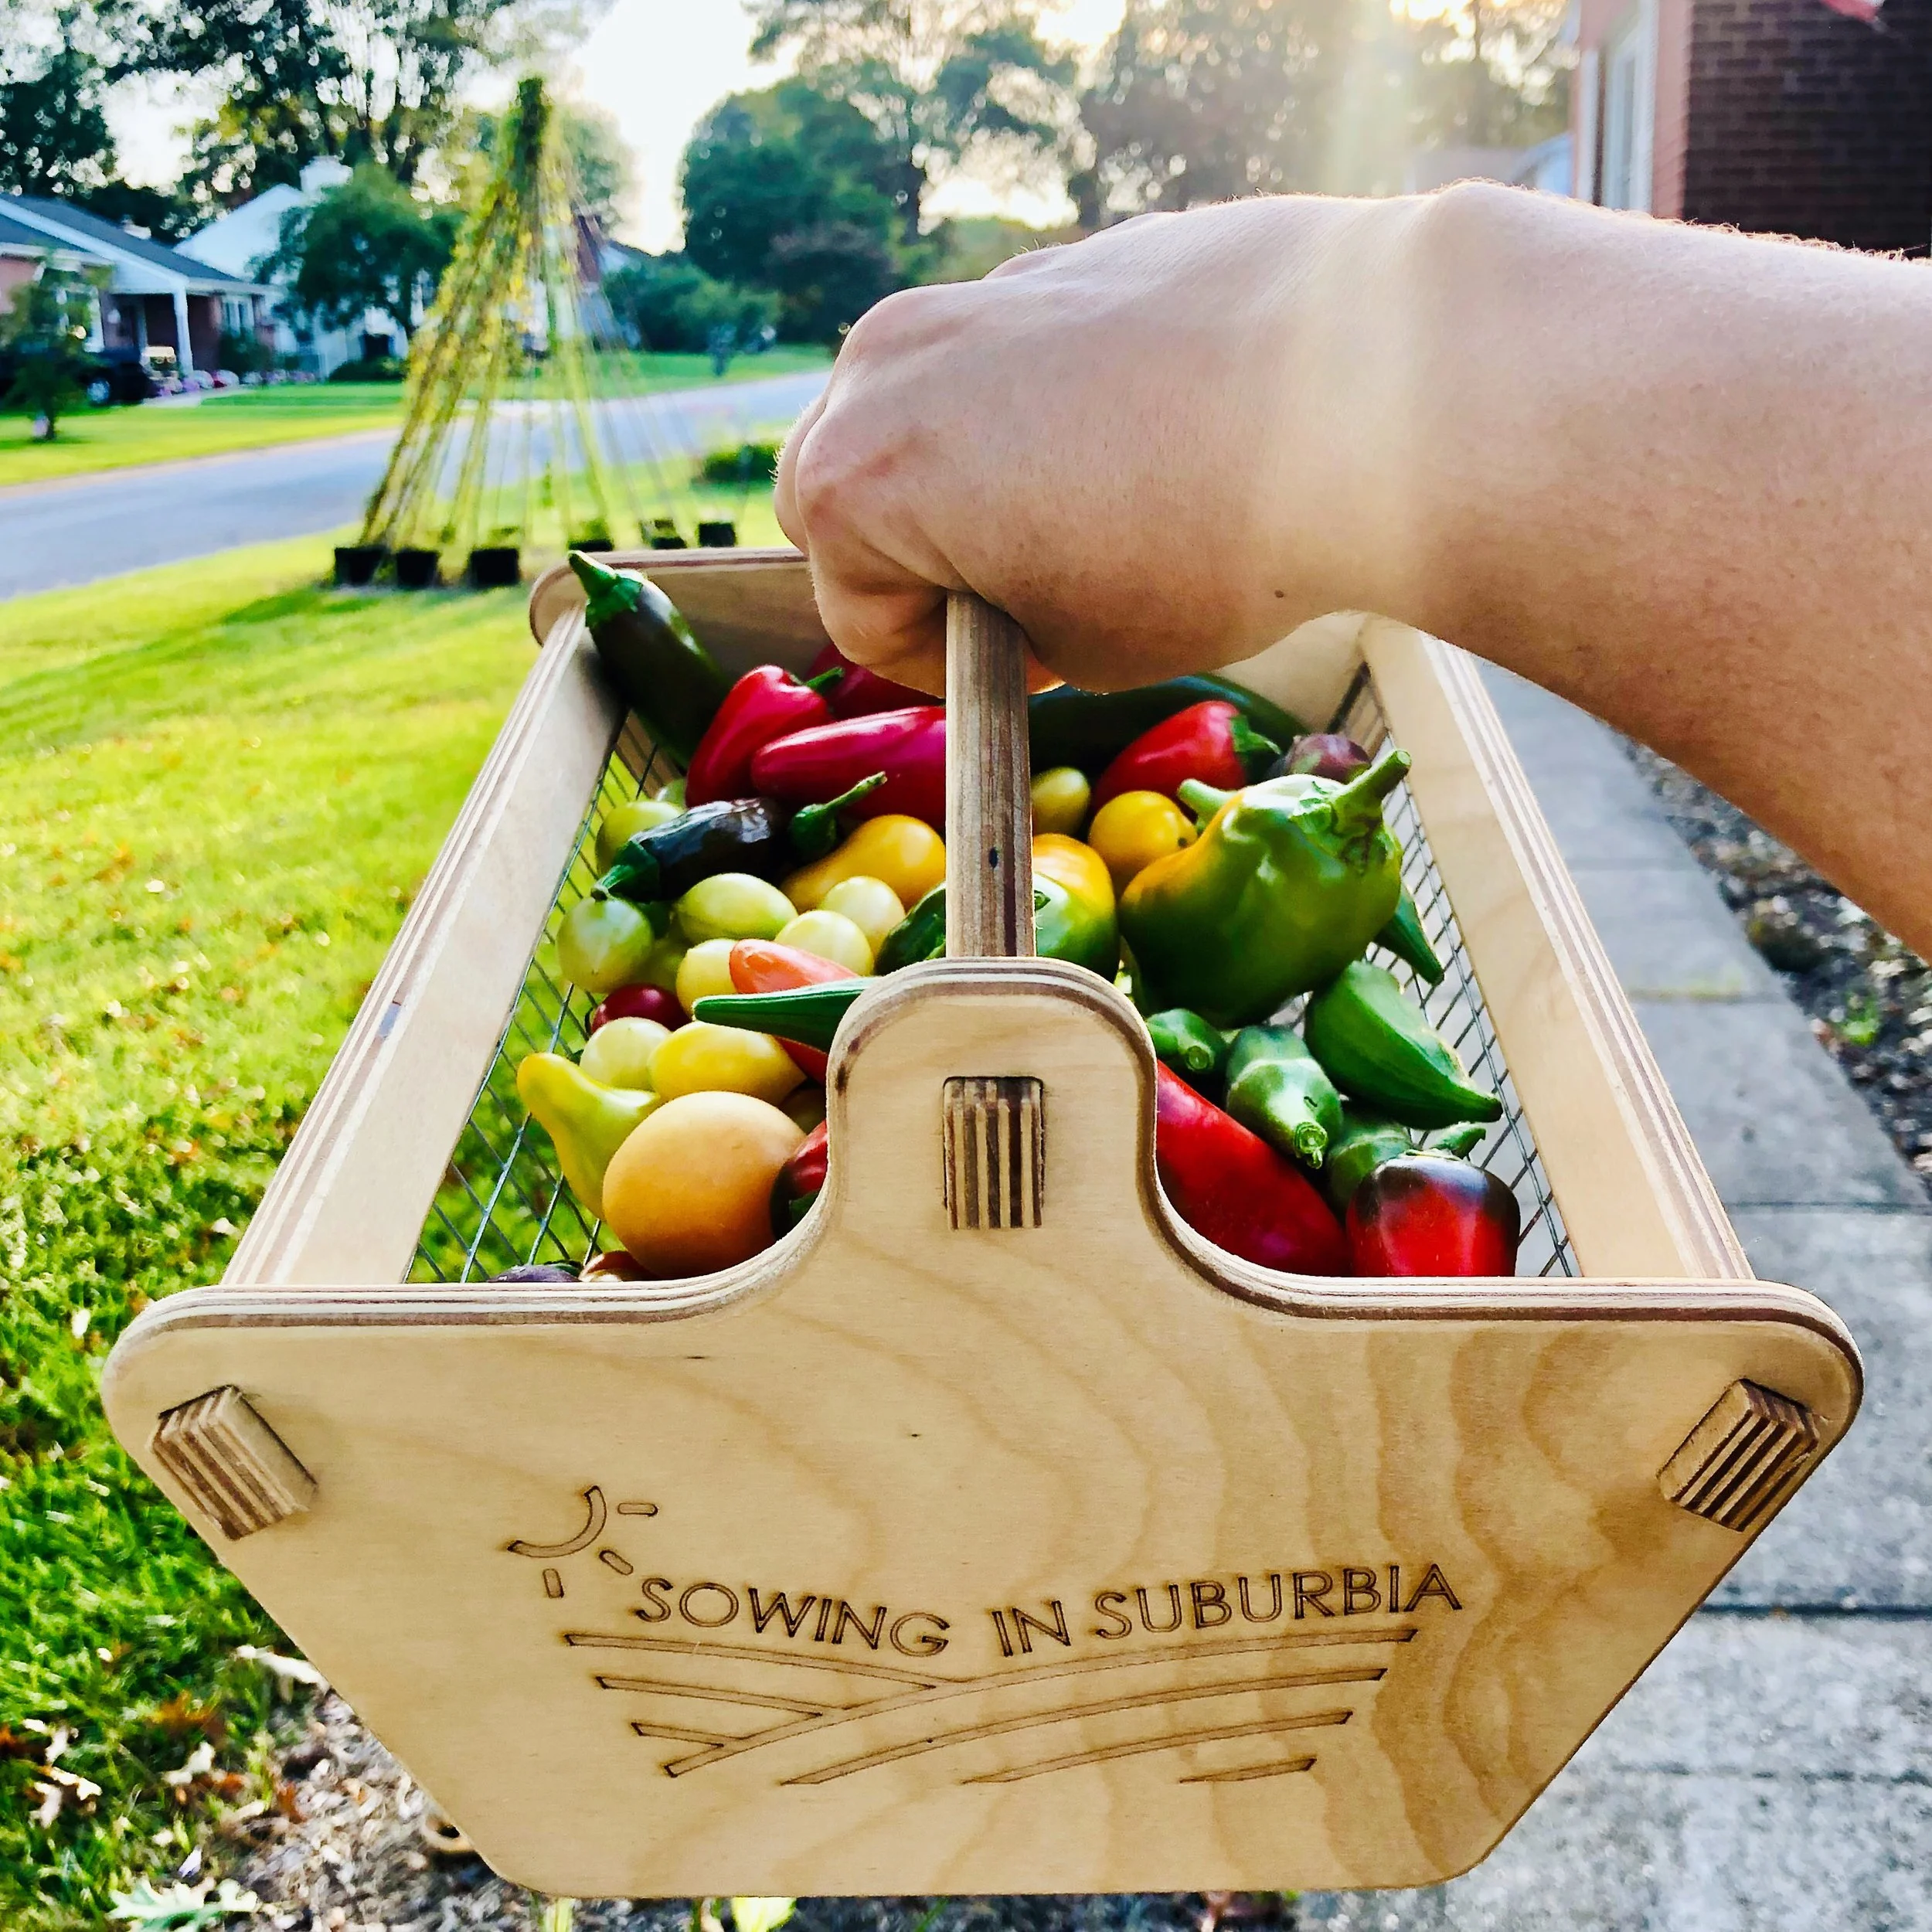
When your seedlings are ready to be transplanted, choose a cloudy day with rain in the forecast. That is my favorite time to transplant!

Please note some links are affiliate links.
Your clicks help keep this site up and running.
Thanks for your support!


